
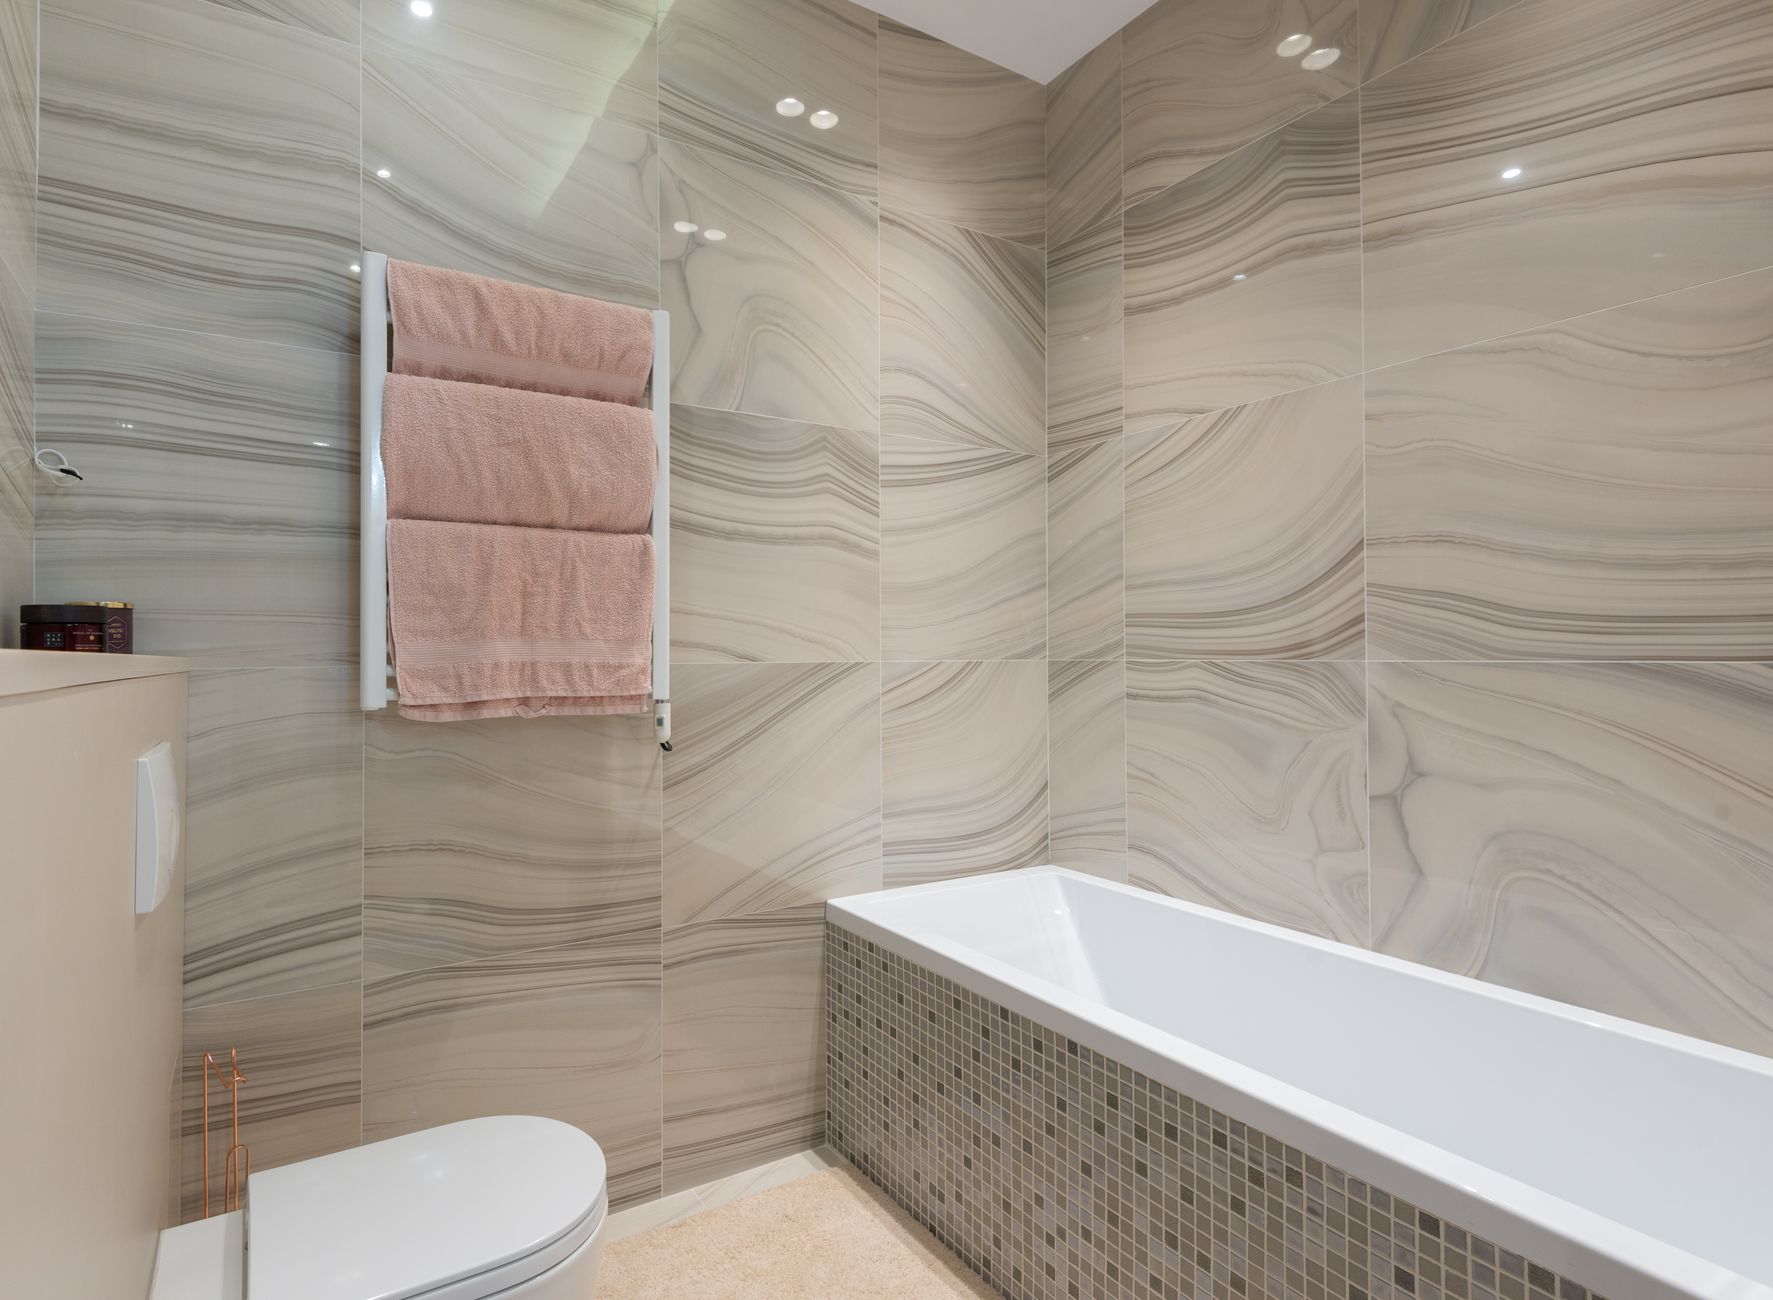
Choosing stone from a photograph is choosing a different slab from the one you will get. Here is what to actually look at when you are standing in front of it.
See the whole slab, not a corner
Veining is rarely even. A slab can be quiet at one end and dramatic at the other, and the piece that ends up on your island is whichever section the fabricator cuts from. Walk the full length and decide which part you want where.
Photograph it straight on, in daylight
Stand back, shoot the whole slab square to the face, and avoid angling the shot. Warehouse lighting shifts colour, so take one photo near the door if you can. That photo is what you will be comparing against at home when you look at cabinet samples.
Check the thickness and the edges
Two and three centimetre slabs look similar standing up and behave very differently once fabricated. Look along the edges for chips, and for any resin fill, which shows as a slightly different sheen. Fill is normal in many stones and not a defect; you just want to know where it is.
Count the slabs you need
If the job needs more than one slab, they have to come from the same block and be sequential. Ask for them to be tagged together. Two slabs of the same stone from different blocks will not match, and that mismatch always lands on the most visible join.
Look at it wet
A splash of water shows roughly what the stone will look like sealed or polished. It is the quickest way to see what a honed finish will actually do to the colour.
Bring your samples
Cabinet door, floor tile, paint chip. Stone that looks perfect against a grey warehouse floor can fight everything in your kitchen. Five minutes holding the samples up to the slab saves a conversation nobody enjoys later.
Come by the warehouse and we will pull whatever you want to see off the rack.

